
Extended symmetry options in sculpt mode
I wanted to suggest some ideas to improve symmetry workflow in blender's sculpting greatly.
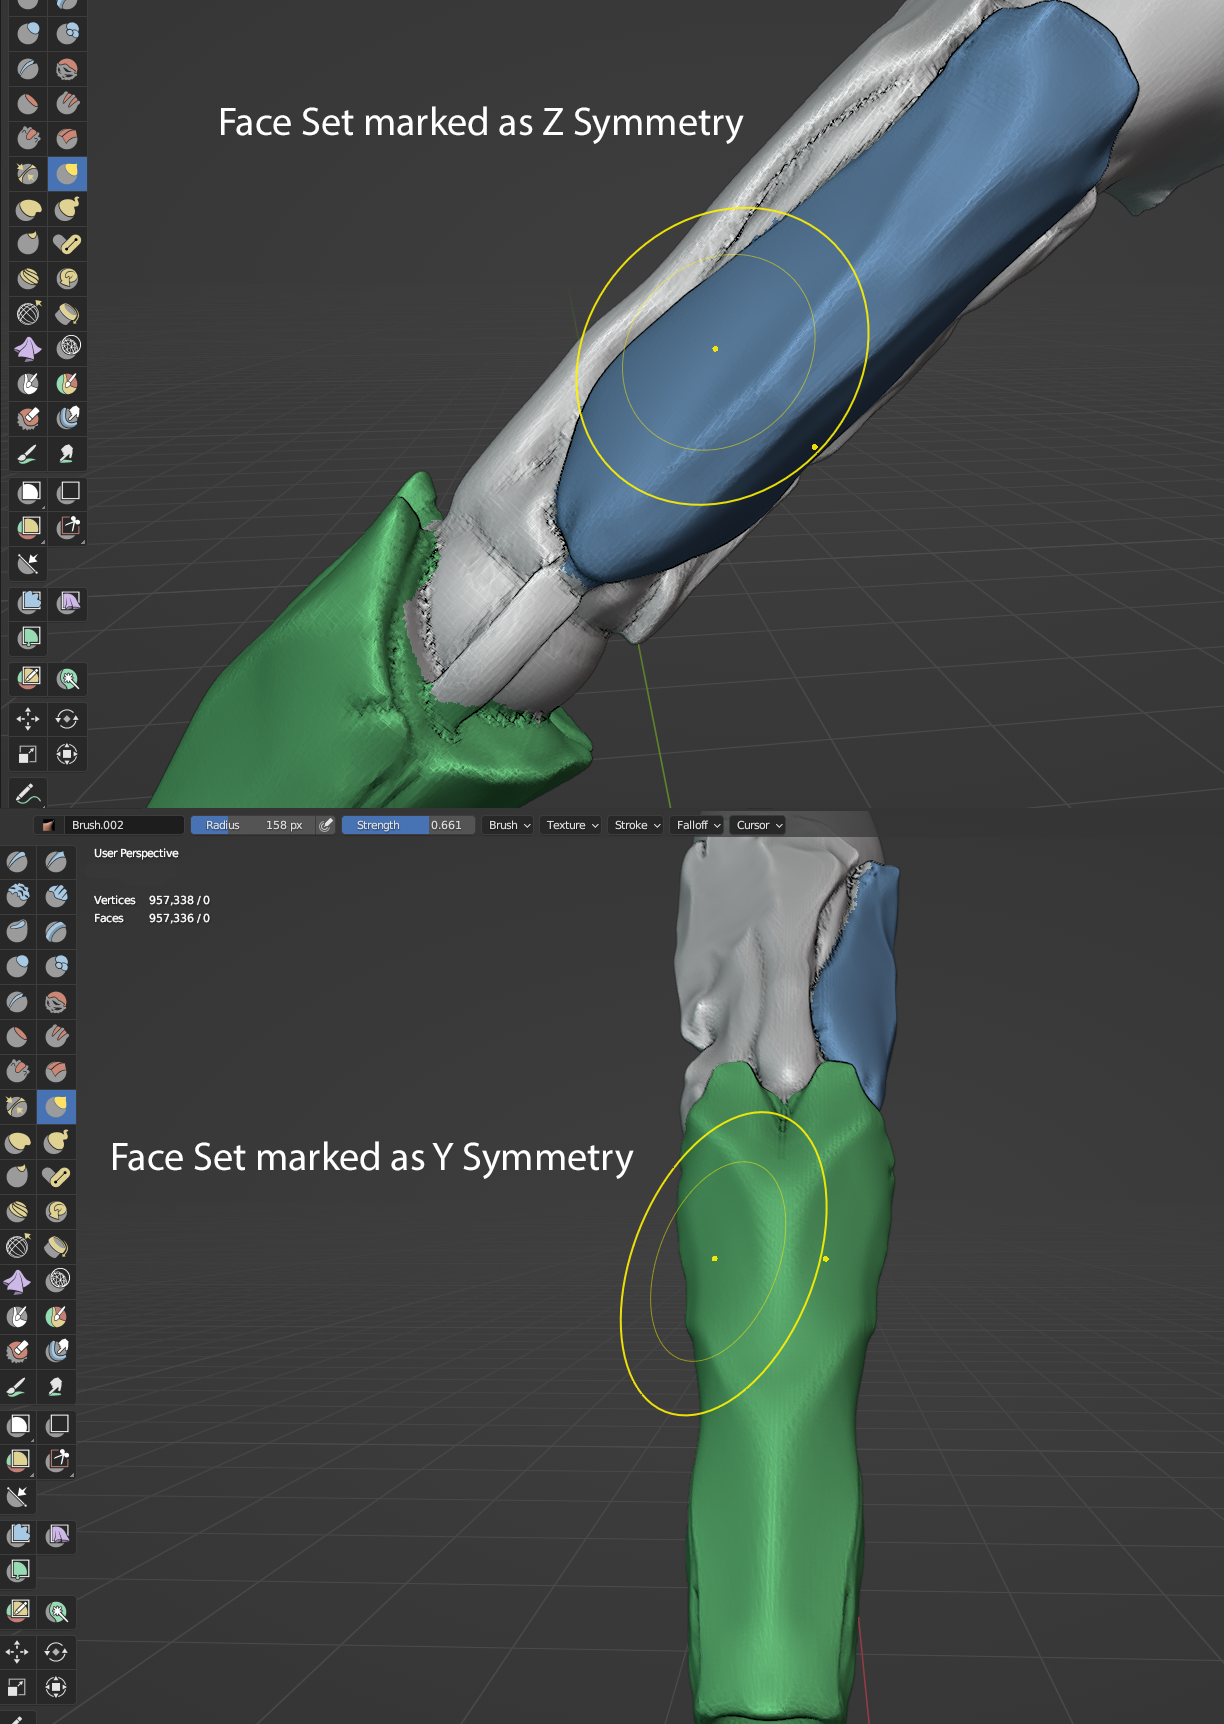
All you do is make a face set, then mark that face set as being either X, Y, or Z symmetry. once your cursor moves inside that face set, anything you did will be applied as the symmetry defined on that face set relative to the local symmetry of the object (its origin). Could also be extended to use radial symmetry definitions.
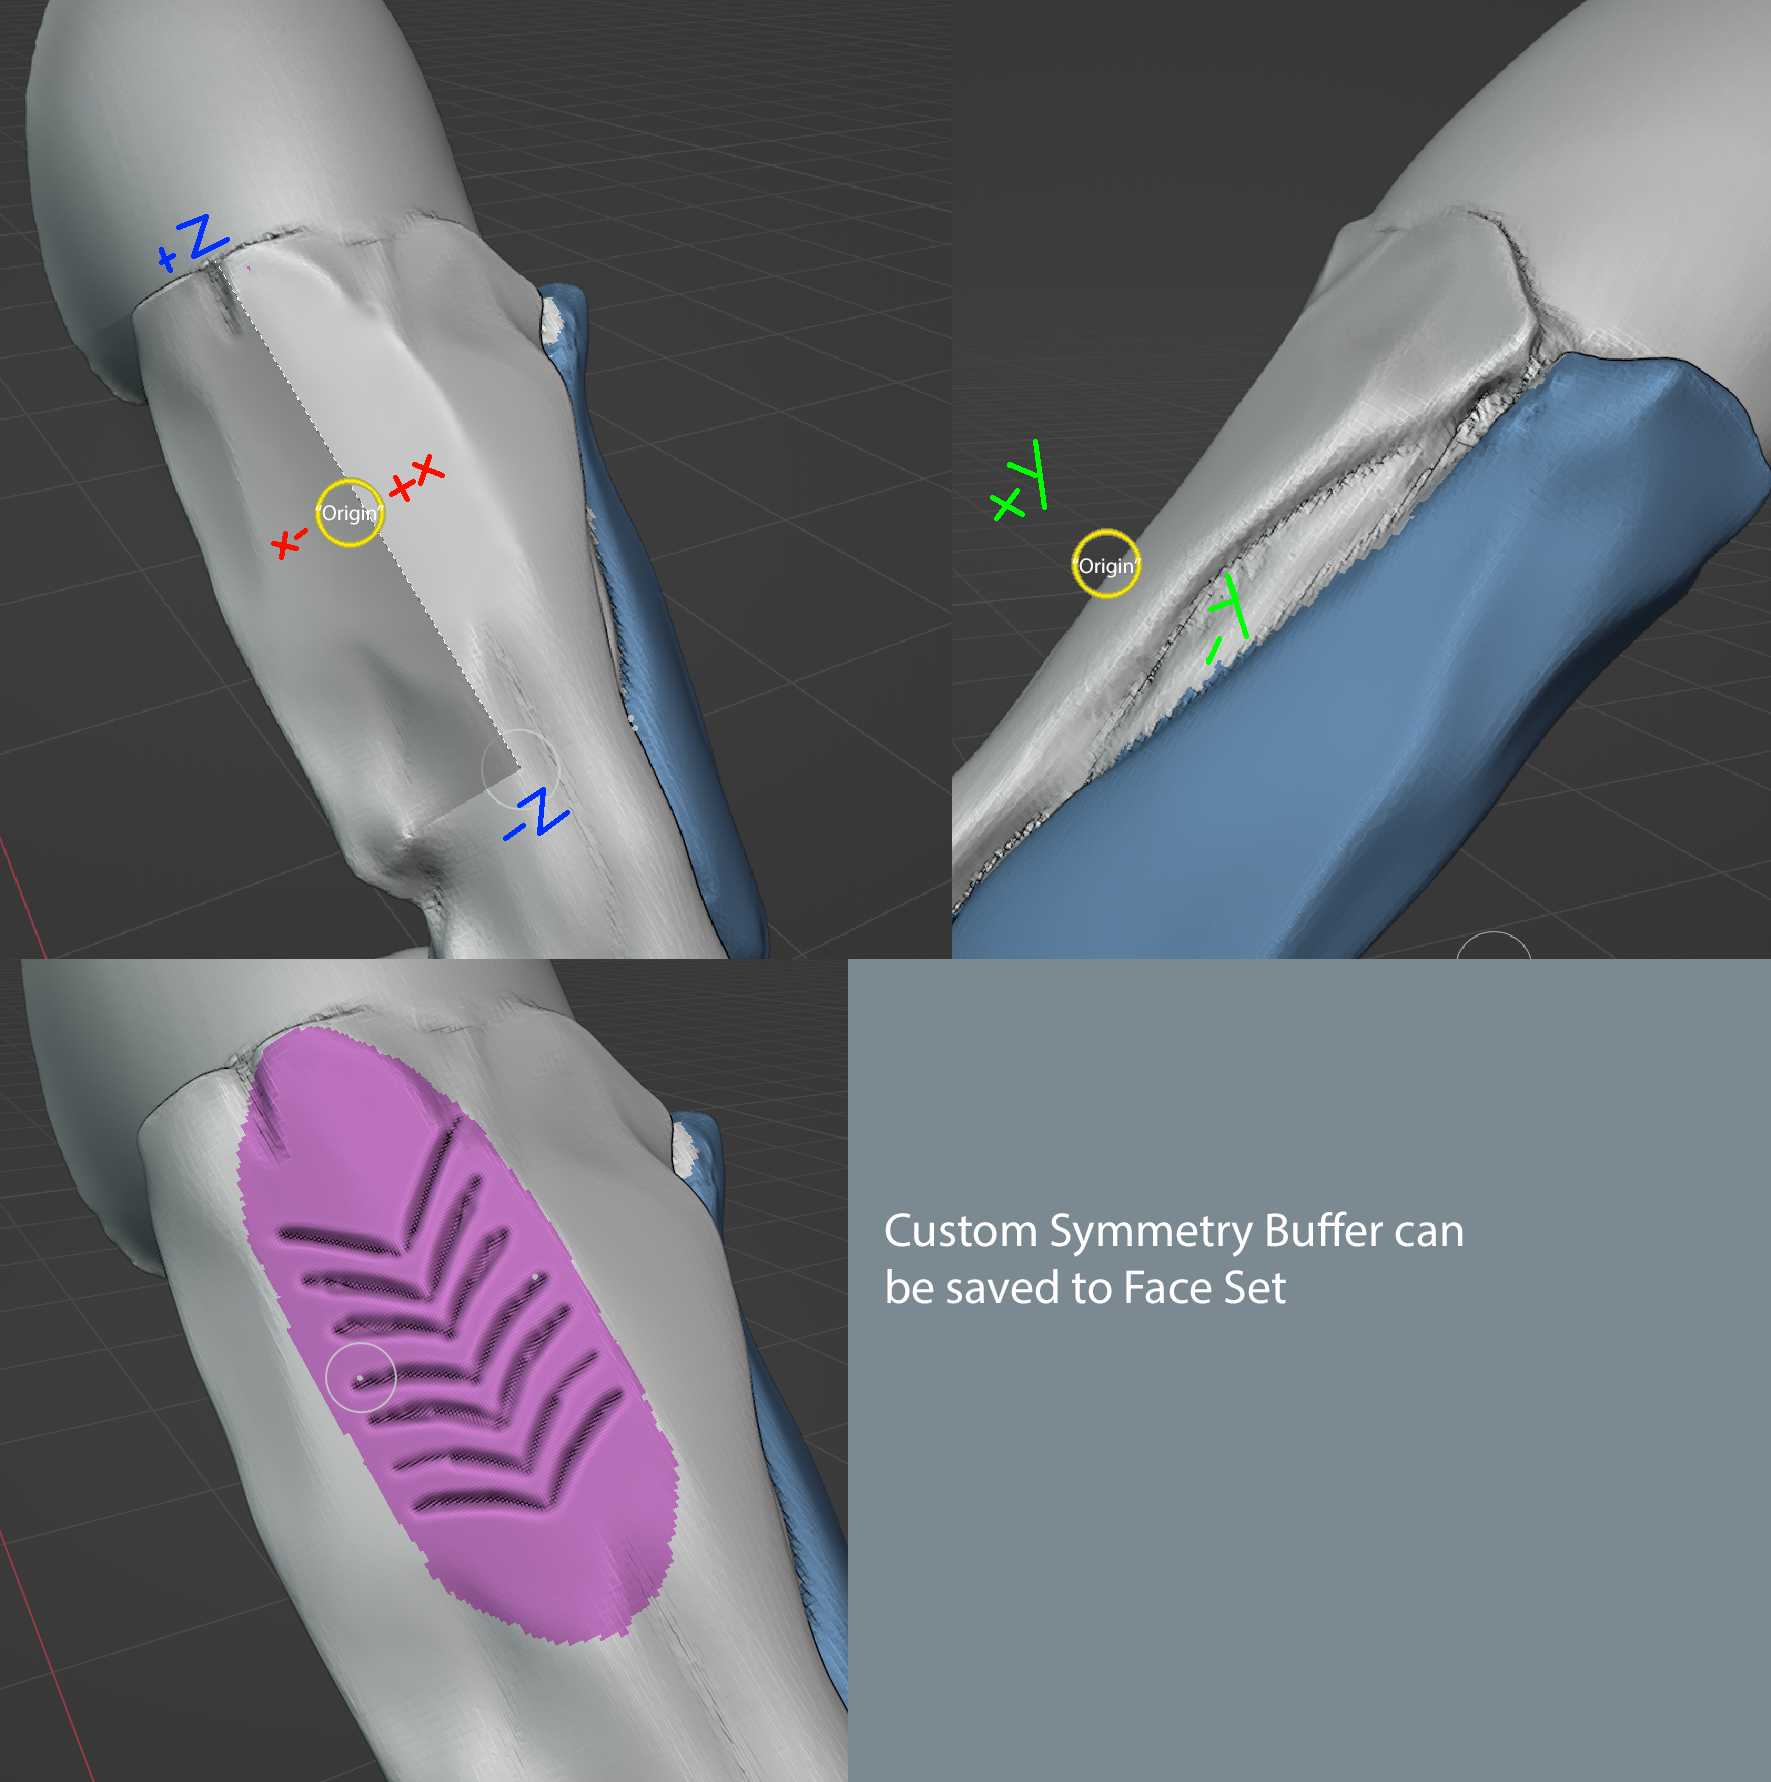
Closely tied to the first suggestion is the ability to define custom symmetry. Simply project a line with with a tool similar to the already implemented "line project". This would provide a custom symmetry and angle of of symmetry, essentially establishing a temporary origin used on that specific part of the mesh.
How I'd imagine it to work is the middle of the symmetry is the middle of the line, graphically this middle can be displayed on the line so you know where you're putting it.
+Z could be at the start of the line, -Z at the end of the line.
To determine the plane of the symmetry, it could for example interpolate the angle based on the normals of the faces near where the line is drawn or use the View Normal, perhaps the possibility to choose either one. It could also interpolate the plane only from faces near the middle of the line or you do it completely manually as would when you use "affect only origins" in object mode.
With the angle of the plane established, -x could be to the left of the line based on the plane. +x could be to the right of the line based on the plane. +y could be "in front" of the line based on the plane, and -y could be "behind" the line based on the plane. Hope the picture below makes it clearer.
What you have to do currently to achieve something similar is to have completely separate objects stack on one another. This impractical because you have to constantly switch between them, and to move or manipulate them all together they would have to be merged which will forget their origins.
You can also activate a certain symmetry only when you are working on that specific part of the mesh. it can be easy to forget this and once the symmetry is disrupted by accident it's tricky to restore it, you also have to remember the exact symmetry used which can be tricky if it was radial symmetry. Furthermore, the custom symmetry would be very powerful combined with tying face sets to symmetries as you can make as many custom symmetries as you want on the object anywhere you want on it.
My goal with this suggestion is to allow you to sculpt symmetric details on the mesh in a clean way without having to separate it into muliple objects. It is very powerful to have everything on one mesh in the initial concept stage as it's very easy to test shapes and structure with for example the Grab tool. Once you learn how to use the tools effectively it would make working with symmetry a lot more seamless. It would be very powerful for concepting, once you are happy with the shapes the face sets can then be separated with for example face extract if you'd so wish.
My final point would be to make it possible to symmetrize these specific face sets. In the event that you move a part of the mesh without symmetry enabled that makes a face set asymmetrical, you could symmetrize that specific face set based on its defined axis to make it symmetrical once more, much like you would in edit mode's symmetrize. essentially taking one side of the face set and mirroring it on the other then doing a remesh in one button. The resulting artifacts could be cleaned up rather easily with smoothing.
Let me know what you think, or have any ideas how this could be improved.
1 Comment
This would be really useful