
Add offset parameter to Extrude Tool
Since the Extrude Tool is one of the most important and fundamental tools in modeling, it must have more advanced functionality. Currently, it feels quite archaic and limited.
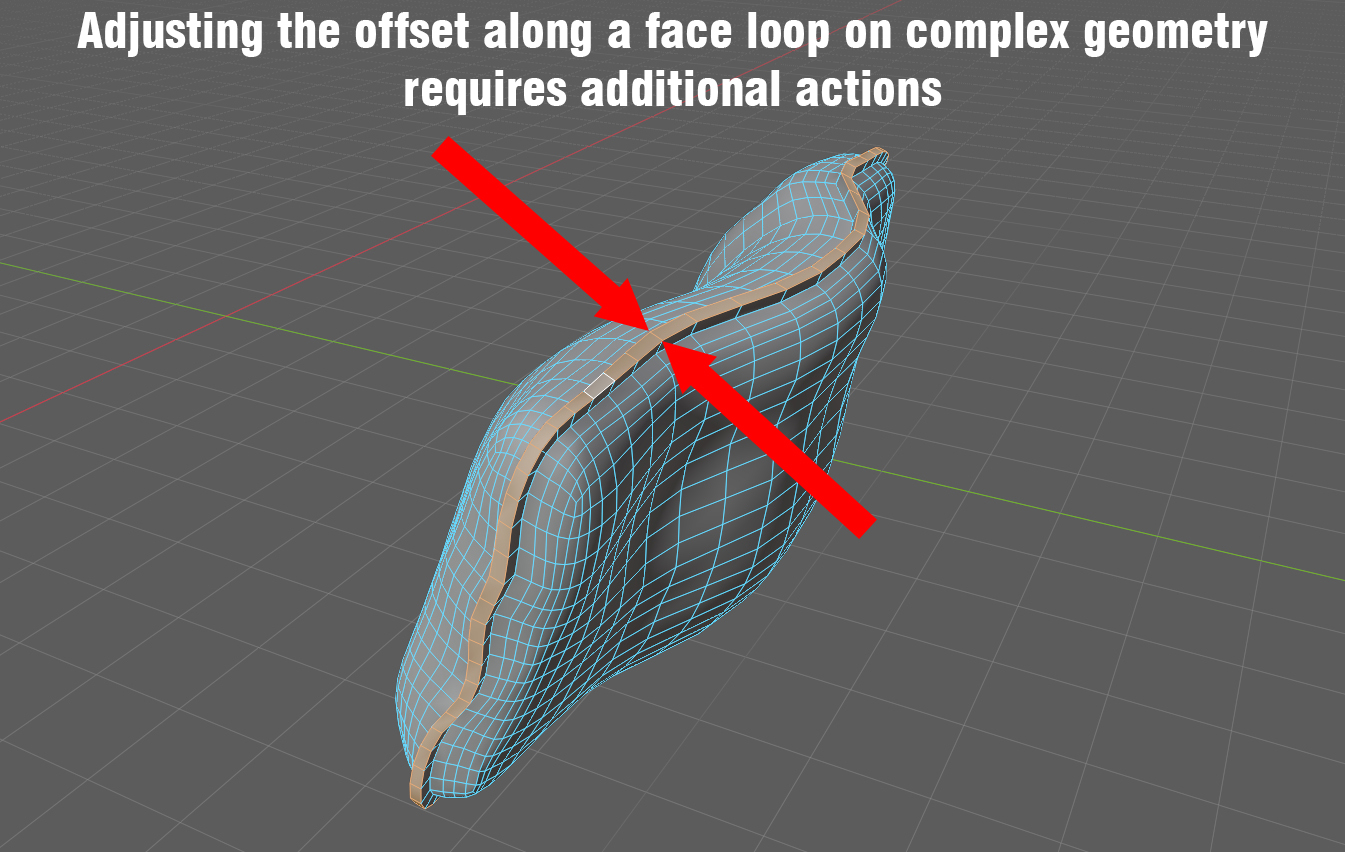
Extrusion is often associated with offsetting faces and polygons. When we want to get an extruded polygon or an entire loop with a tapered end, it currently requires several extra steps.
This feature would be especially relevant and useful in cases where a face loop follows a complex shape and there is a need to create a groove along the entire loop.
Editors such as 3ds Max and Maya allow for adjusting the polygon offset directly during the extrusion process. In some cases, this saves a ton of time.
In summary, my proposal is to add an offset parameter to the Extrude Tool settings.
3 Comments
You can use Inset Faces instead of Extrude. You can control the "taper" with an inset, and if you press Ctrl, you can control the extrusion. There is one caveat though, the new faces cant be larger than old were.
You are partially right, but that requires using so-called workarounds. Let’s try to count the number of steps required to achieve this goal on a complex geometric shape:
With an offset parameter:
With Inset Faces, you don't have to Set the Normal nor Move the Selection. There is no need for workarounds. Inset Faces does what you are asking for.
Worth of noting though, is that I'm not talking about the Inset Faces tool that is in Toolbar, but the one that you lauch with hotkey or from the Face menu.*
Steps:
No need for setting normals or changing to Grab or Move tool. Just press ctrl while Inset is active.
*I find it confusing that Blender has 2 versions of many of the Tools, that behave differently.