
Adjustment to "Import SVG to Grease Pencil"
My request: Please make the name of the layers in the Grease Pencil Object come from the "Label" and NOT the "ID" in Inkscape.
I will explain my experience as the end-user and why I think this minor change would be a big help for me and others.
I create fonts in Inkscape and FontForge. I then use the uncombined vectors to create animated text using Grease Pencil. Let me explain a specific instance of this workflow.
First, I create a letter/character with shapes in Inkscape.
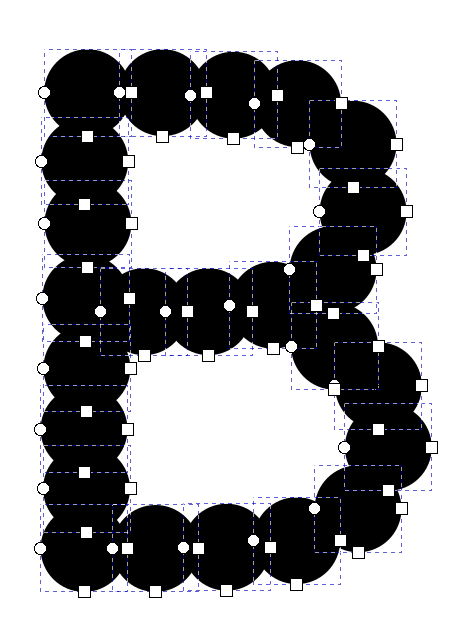
Then, I combine the shapes into one shape for FontForge so I can make a font file.
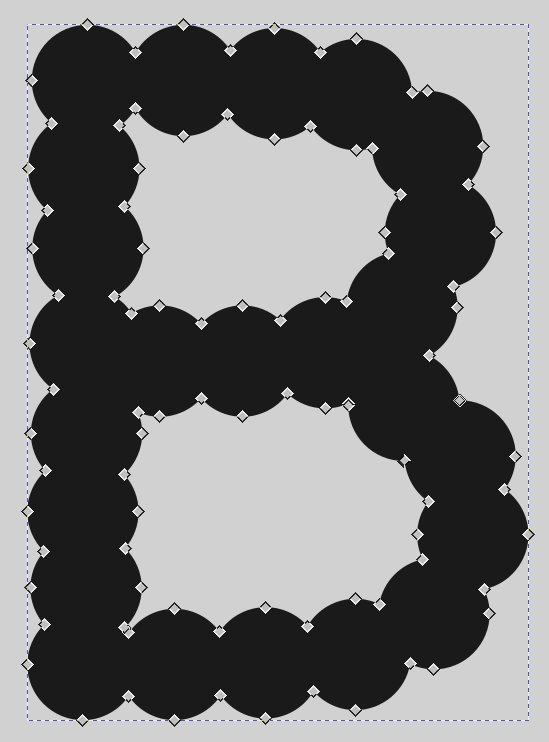
Importantly, I KEEP the original uncombined shapes and organize them into layers, one for each letter. This is because the uncombined shapes provide very useful geometry for animation in grease pencil.
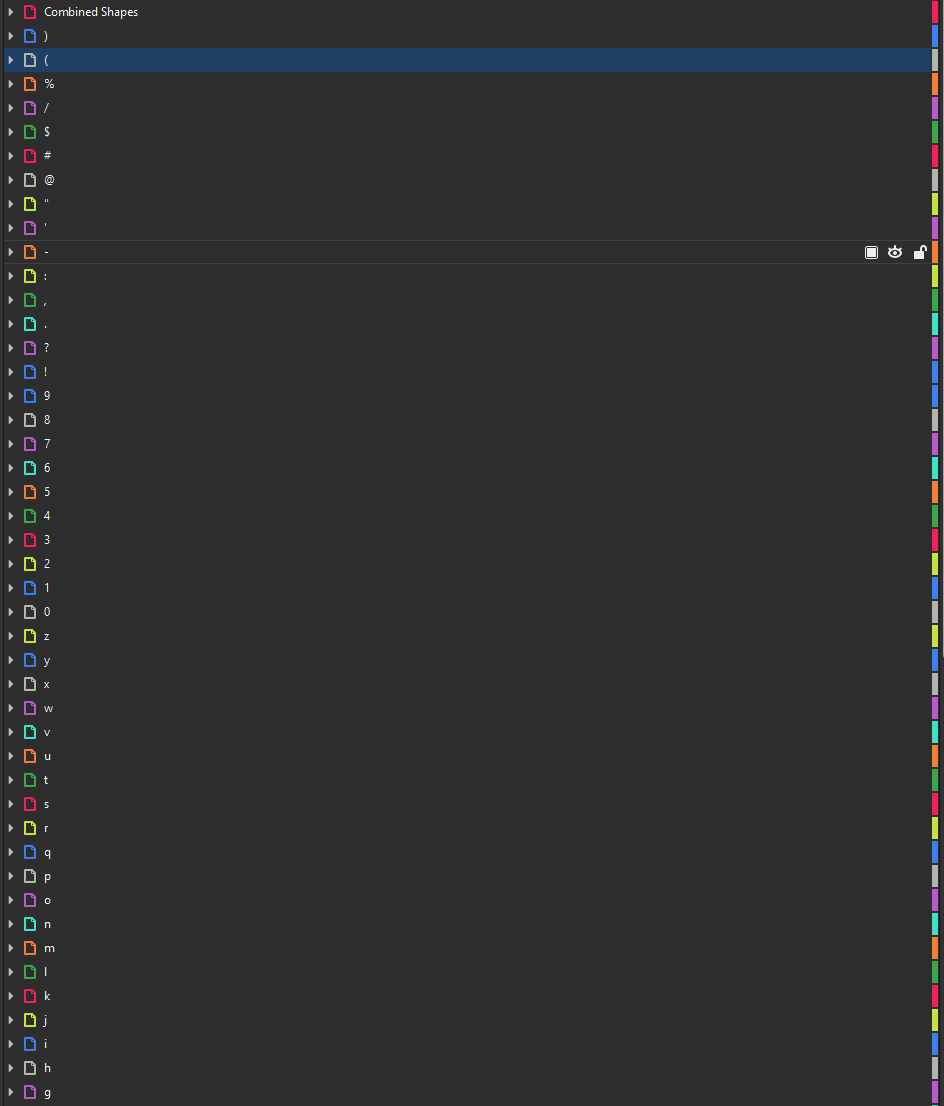
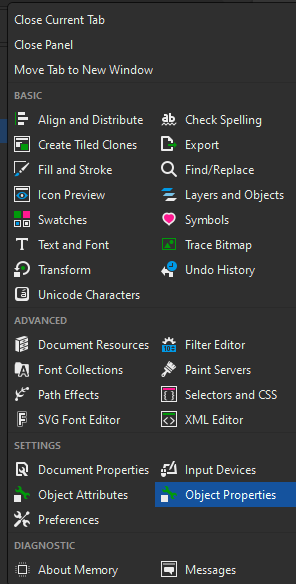
However, all my time spent naming my layers one by one, all 77 layers, does not import into blender. The only way to make that happen is, in Inkscape, open a panel called "Object Properties", clicking on all my layers one by one for a second time, and then changing the ID of each layer.
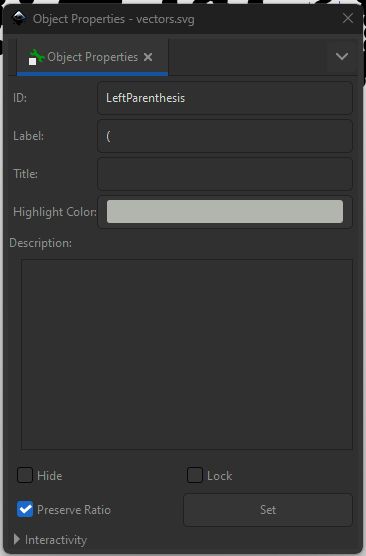
Without manually renaming the IDs, they are completely indistinguishable from each other, with names like "layer20".
Of course, I will continue this workflow because the extra amount of tedium is worth it for the results I can achieve by preserving the original vector shapes before being combined. However, I believe that taking the Label instead of the ID is:
- more intuitive for the end user
- less work
- should be possible, because I name my Grease Pencil layers in strange ways within Blender so I dont think the naming restrictions on Inkscape ID is necessary for Grease Pencil.
0 Comments