
Users are able to define the area of Deflect Emitter (the idea of pseudo-emitting mesh)
Problem
:
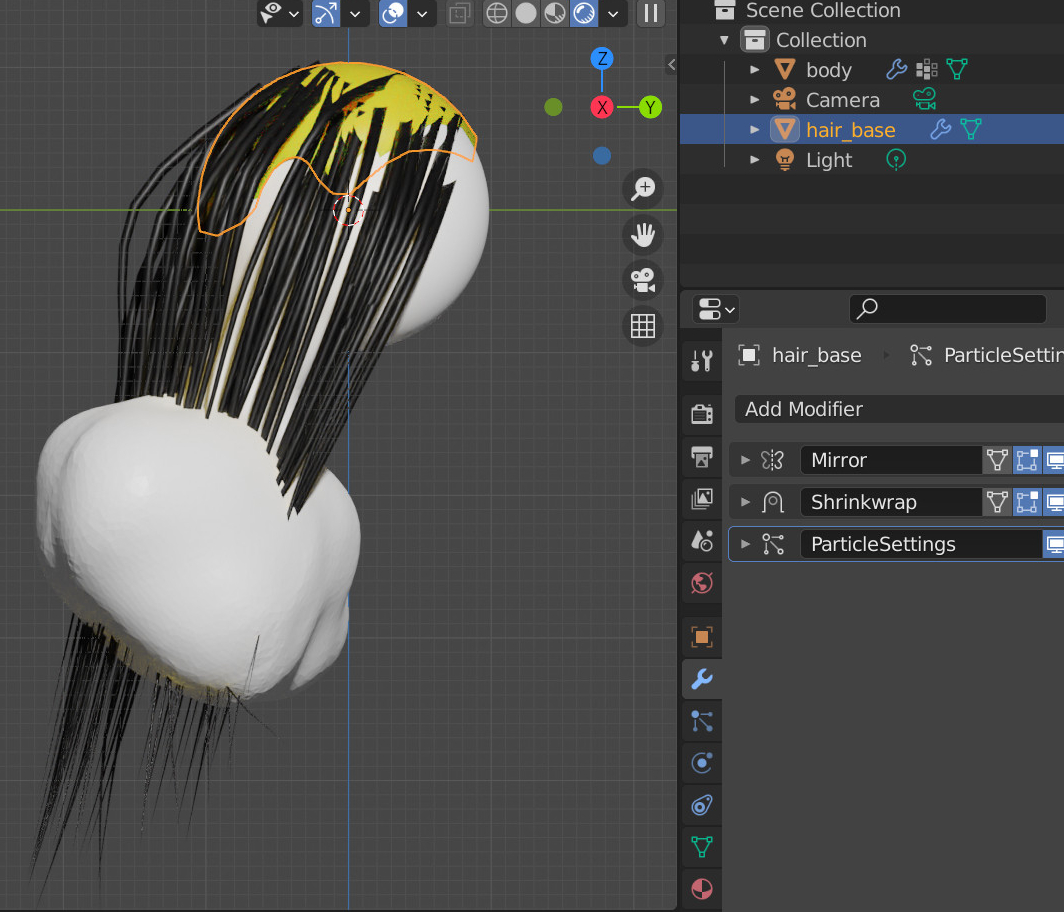
When I comb the hair, I usually check the box "Deflect Emitter", which keeps hair from going through the body (or the emitting mesh). However,
this does not keep hair from going through cloth, jewelry, or weapons when combing
, because they are not emitting mesh.
Proposal
:
So, here I propose Blender to add a feature to let users define the area of Deflect Emitter. For example, even though the body is the emitting mesh and cloth and jewelry are not, users can still select the body, cloth and jewelry as the area of Deflect Emitter. With this selection, Blender will treat cloth and jewelry as a "
pseudo-emitting mesh
",
which may not really emit any particle or hair, but is able to keep hair from going through the mesh
.
More Application
:
This will greatly accelerate the progress of making realistic hair. The new method to make hair would be:
- make a head scalp with all quads and Shrinkwrap it on the head;
- emit hair from the head scalp;
- define the area of Deflect Emitter;
-
comb the hair.
In comparison with the traditional method, this new method gives users greater flexibility and efficiency - without doing the retopology of the head, just Shrinkwrap the scalp with hair on any head (let's say 10 heads with different faces), and all of these can be done in minutes.
If we do not let users define the area of Deflect Emitter, then it is hard to make this new method work. For example, let's check the following video:
youtube.com/watch
At 6:07, you can see that the hair is going through the ear, even if the Deflect Emitter is on. This is because the emitting mesh in this case is the head scalp, rather than the body or that ear. If the body can be treated as a pseudo-emitting mesh which deflects hair, then this anomaly should never appear. This will save artists a lot of time.
2 Comments
I, too, am very much waiting for an answer on this lot. Is it possible to develop a similar node in geometric nodes? I don't want to create big trees
About the Hair Tool
By the way, the add-on called "Hair Tool" is suffering from the same problem as well. There are 3 ways to generate hair by using the Hair Tool:
Since the first two ways have no fundamental difference from the vanilla way by just using the native Blender particle system, these two ways are suffering the same problem where the hair enters into non-emitting mesh when combing.
The third way is suffering from a similar problem. For example,
youtube.com/watch
At 2:36 of the video, he had to manually move the troubled hair mesh out of the body mesh. Manual manipulation, like this, not only results unrealistic hair but also time consuming. Although this is not the particle-to-mesh problem as described above, this mesh-to-mesh problem has a similar cause and result. I wish that we will be able to attack this mesh-to-mesh problem in the future improvement.