
Mesh Light improvements
I do quite a bit of Architectural interior visualizations using Blender, Cycles. I use a lot of mesh lights to imitate lights in the interiors, though they do lack some controls, which makes my job harder than it should be. I don't know how hard these are to implement, but I would like to propose two features:

1) Light fall-off distance and shape.
There is no way to control how quickly, over distance, light rays lose strength. It's a fixed, hidden value. Figure "A" shows a scheme of how the interior designer hides LED strips in a ceiling. Figure "B" shows how It appears on a visualization I made (marked blue). In this specific case, it worked out, but more often then not, I am told that the LED light should reach further down the wall. I don't have any control over that. I have to fake the look with hidden "hack" lights. Ridiculously increasing the light strength makes no sense and doesn't look right either.
Solution: In the shader editor, the Emission node should have, at the very least, a number field that the user can input, which would dictate the illumination distance (In meters) of how far the light can reach. Infinity should work too (Value "0") Ideally, the user could also get control over the shape of the fall-off too. Like, linear, constant or quadratic, or maybe even custom (Draw the fall-off shape manually). Yeah, some of these settings may not make sense in physics, but control for the artist is always welcome.
2) Light focus/direction based on mesh normals.
Figure "A" shows how light currently works on an Emissive mesh plane. The light is equal in all directions.
There is no way to adjust the direction of light. So, for example, making spotlights is impossible with mesh lights. When making spotlights, I have to group my spotlight lamp meshes with virtual spotlights to get results that look right.
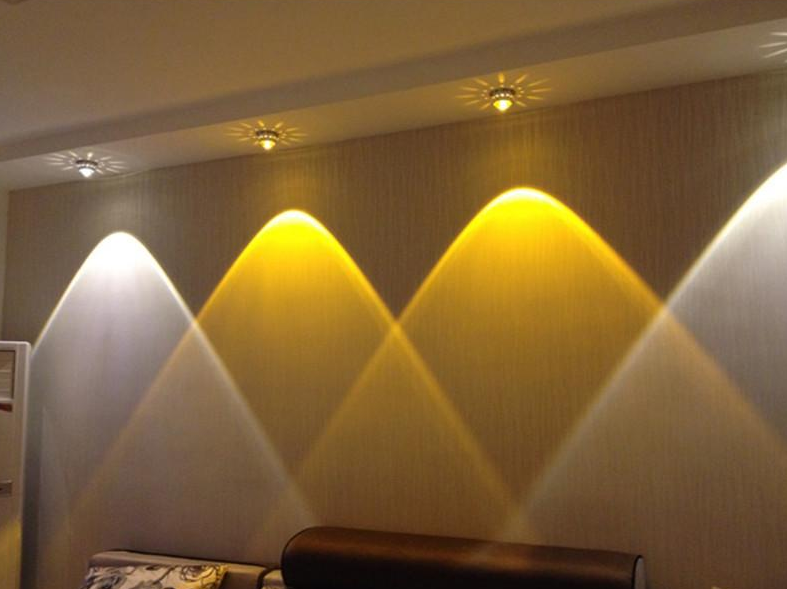
Figure "B" shows a mesh plane that shoots light rays in parallel to the direction of normal of the plane. In this case, shining directly down. This is also impossible in blender.
Figure "C" shows and extreme, where the light rays are pinched. This results in a "magnifying glass in the sun" effect.
 Possible with glass and caustics, but not mesh lights. Perhaps spotlights are also possible with glass, but we all know that's impractical.
Solution: Add a "Pinch" slider on the "Emission" shader node. Value "0" would be the default, omnidirectional. "0.5" would make the light direction parallel to the normals of the mesh. Anything higher towards "1" would pinch it as much as possible. This value should also respect smoothing groups of the mesh. Flat shading, smooth shading. For example, if the there was an emissive flat shaded sphere, with Light pinch set to "0.5", this should result in a disco ball kind of a thing. Fun stuff. The pinch setting wouldn't do anything on a fully smooth shaded sphere, as the normal vector of this sphere has no length and no direction.
6 Comments
Doing lots of archiviz myself too, I'd like to share some tricks: For point 1:</br> you do have control of the falloff via the "Light Falloff" node, inappropriately hidden under the Color nodes category.</br> You also have precise control of the max distance the light can travel via an easy 2 node setup: Light path node > Ray Length connected to Math node "Less than". This means: whatever distance is smaller than what I decide, light is 1, else it's 0. You then multiply 1 by the value needed (or just set it into Light properties panel). </br> There's also a better alternative that is plugging "Ray Length" into > math Divide node then into "Invert" node. This gives you a smoother falloff, since it's not anymore 1 or 0 but a 1 to 0 gradient. You can even use an inverted ColorRamp to fine tune the falloff.
</br> For point 2: yes you should try IES lamps or hack it yourself like this: Geometry node > Normal plugged into Layer Weight > Inverted Color Ramp, slide to the left the black to reduce the light cone as needed, and you get a spot light out of an area lamp! Ok, point 2 is not covered: no rays converging just masking the outwards ones... </br></br> Having said that, I don't think having an options crowded light node would be a good thing. It would be confusing since most of those settings are used for specific cases. For any additional options, better have them as separate nodes imho (like Light Falloff or ies texture, for example). Cheers
* @ Lsscpp * Thanks. I'll try this out next time :) Though, i still think it's a bit overcomplicated and it's ok to have a few sliders on the emission node...
totally agree, having a much more robust set of features for mesh lighting would be very useful. for archviz lighting specifically, have you considered using IES profiles ?
* @testure * Yes. But they only work on built in point lights... Right?
* @visprotis * They work in the Spot light type as well. Make sure the angle of the Spot Shape Size is 180d, or you might get some light clipped. Blend factor should not matter. It seems like a bit of a hack, but I prefer it to the point light because I can easily grab the aim grip in the 3D viewport.
Ah, another trick: you can still use any mesh as a "shadow box" for masking light, giving it shapes / barn doors etc... putting you area lamp into a cube/cilinder without 1 face. Now set the cycles visibility to none except for shadow.