
Advanced Glitch Nodes In Blender (Shader based)
OK so I have been wanting to do glitch effects in blender for quite some time. I tried using the compositor but it is slow as hell (I really hope this gets fixed in later updates and also supports working with the 3d system to get nuke like experience), so I had to work make the effects shader based to get real time and fully procedural control over the effect. So I ended up making a bunch of nodes that can allow me to make all sorts of glitch and distortion on a shader level.
Demos:
Explanation:
The way they work is basically is by displacing the UV coordinates, which means there more like a pre-process effects than a post one (like how you'd do it in a program like after effects. That's how it has to be done on a shader level.
The current iteration has the following nodes:
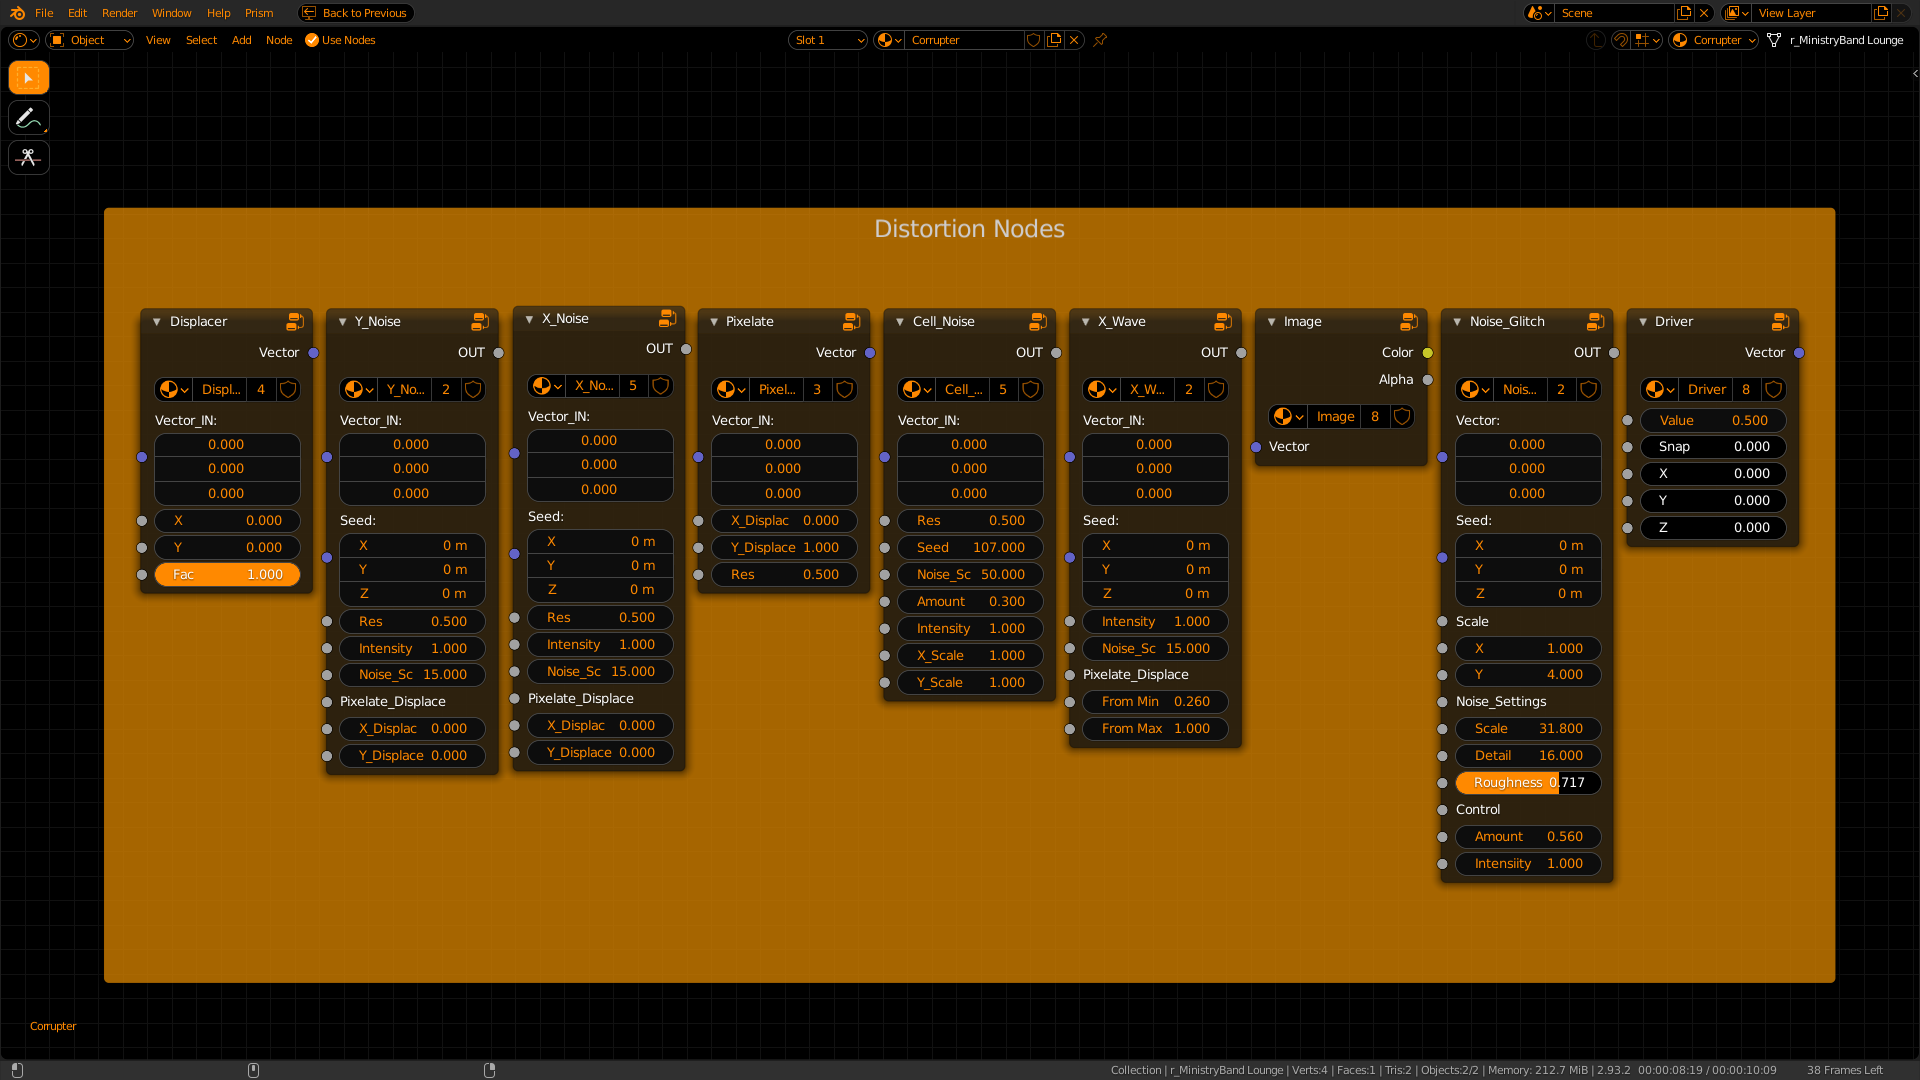
The displacer is the real deal. It has one simple task, move the coordinates (In this case it's UV).
In the vector input we add our UV coordinates and the Displacer separates it into it's X and Y components.
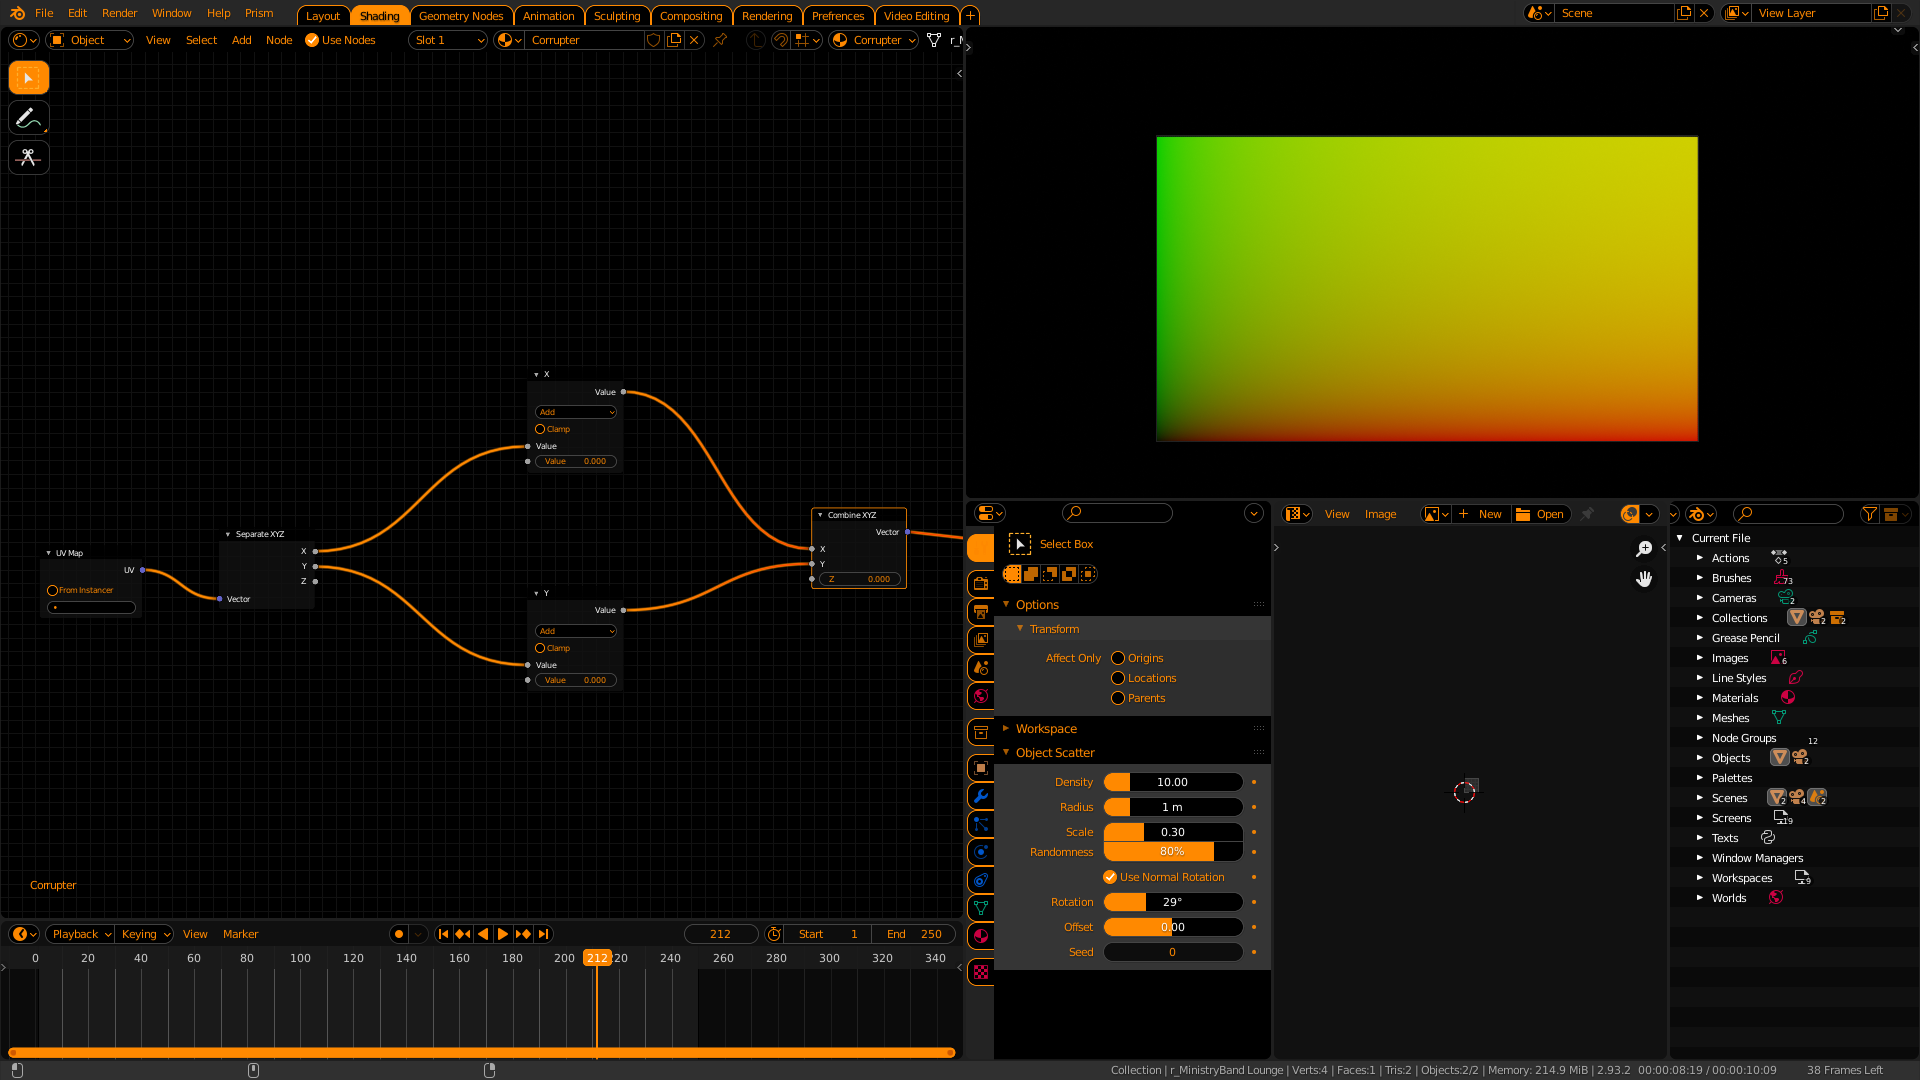
We than add math nodes to move the X and Y coordinates (Red and green respectively). Instead of using a single float, we can use noise (or anything to distort the coordinates). A multiply node is used to control the strength of distortion.
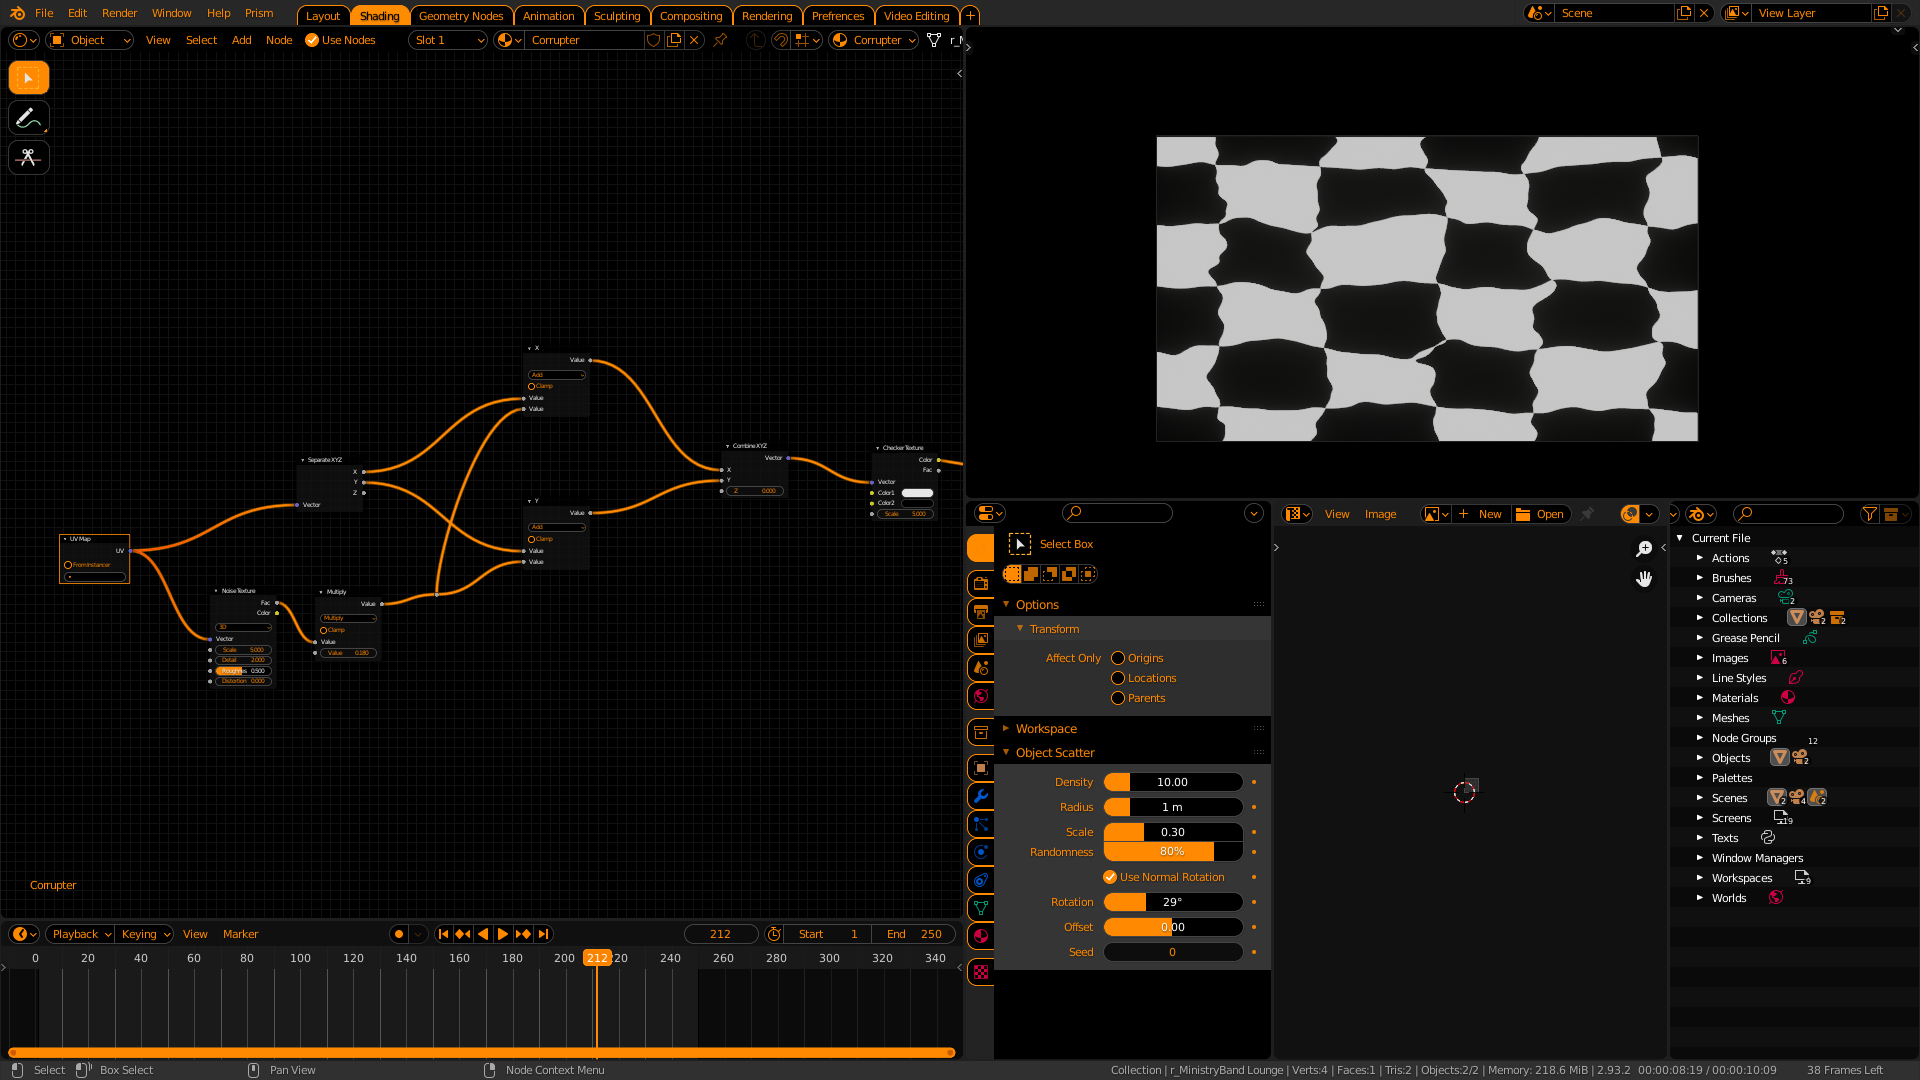
We can also displace on axis by using noise in only the X add node
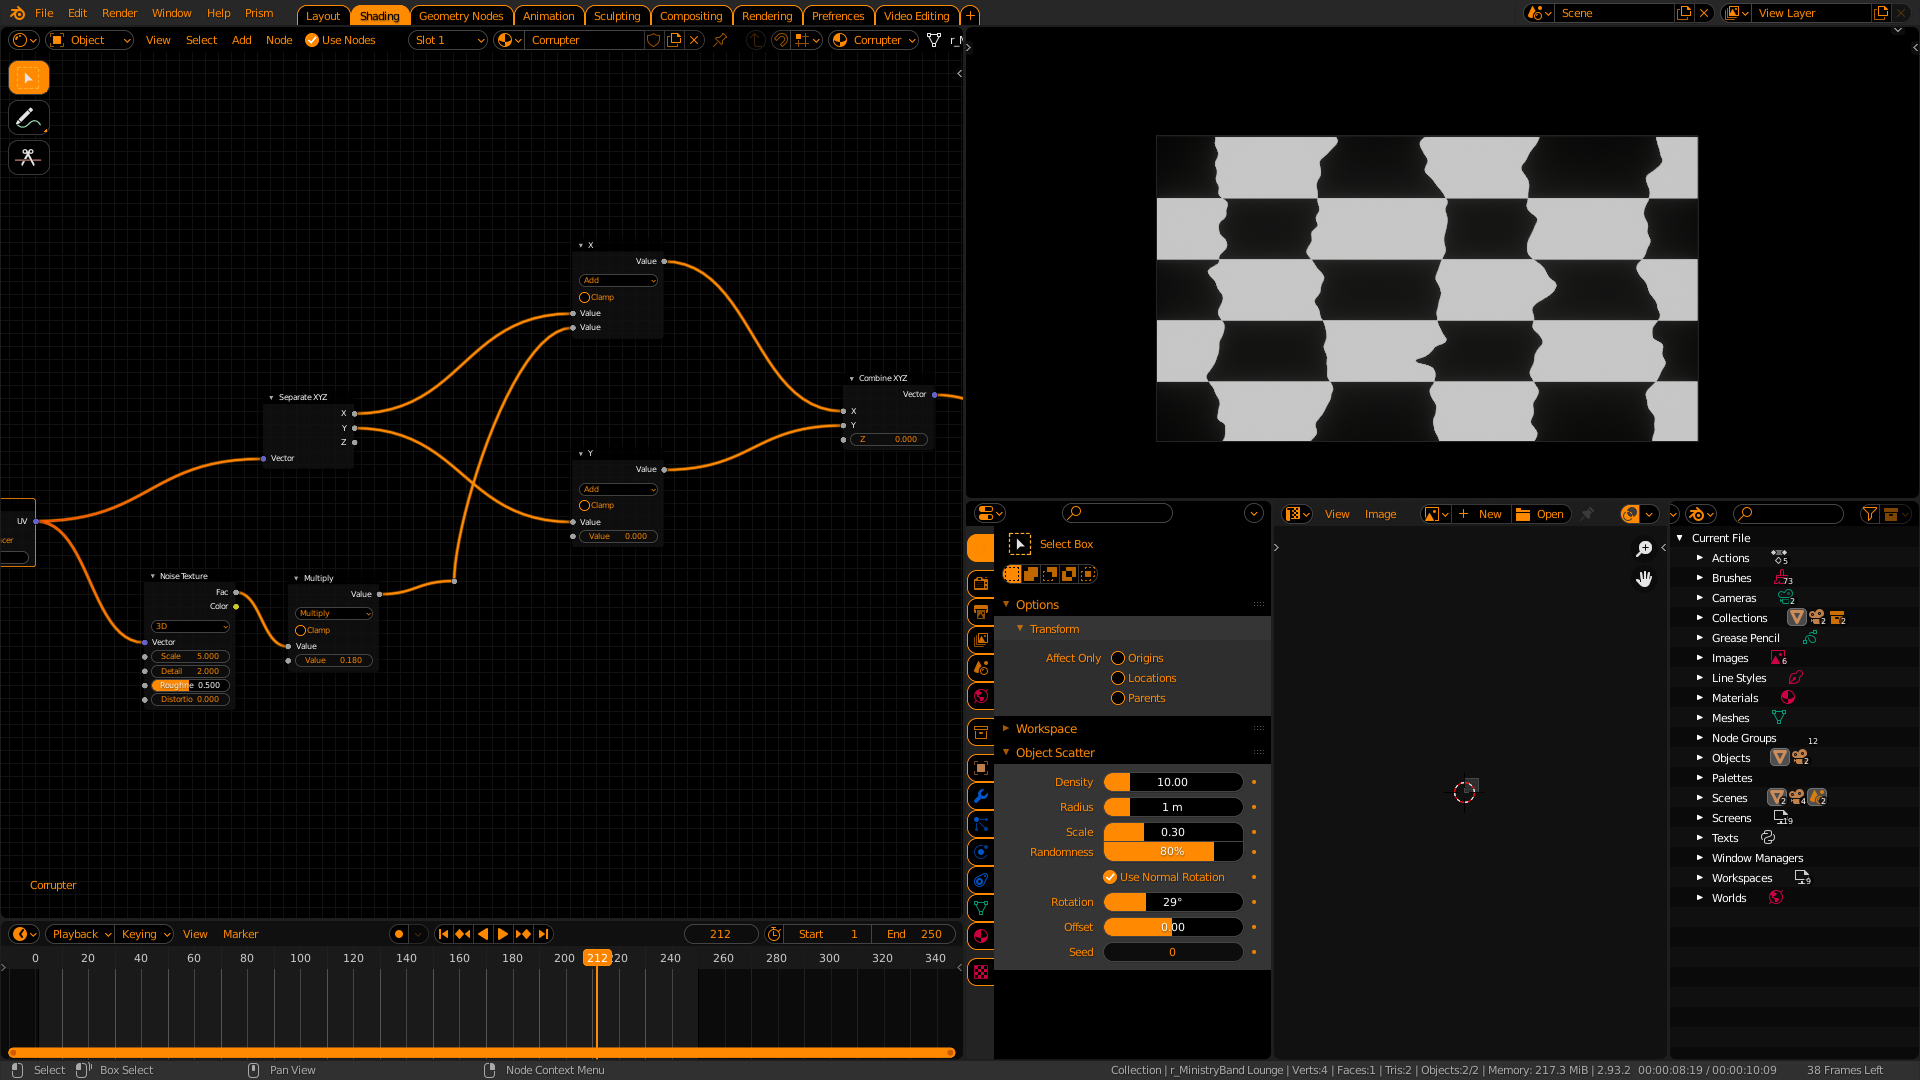
However the noise doesn't look too good. A glitch effect usually displaces tiles.
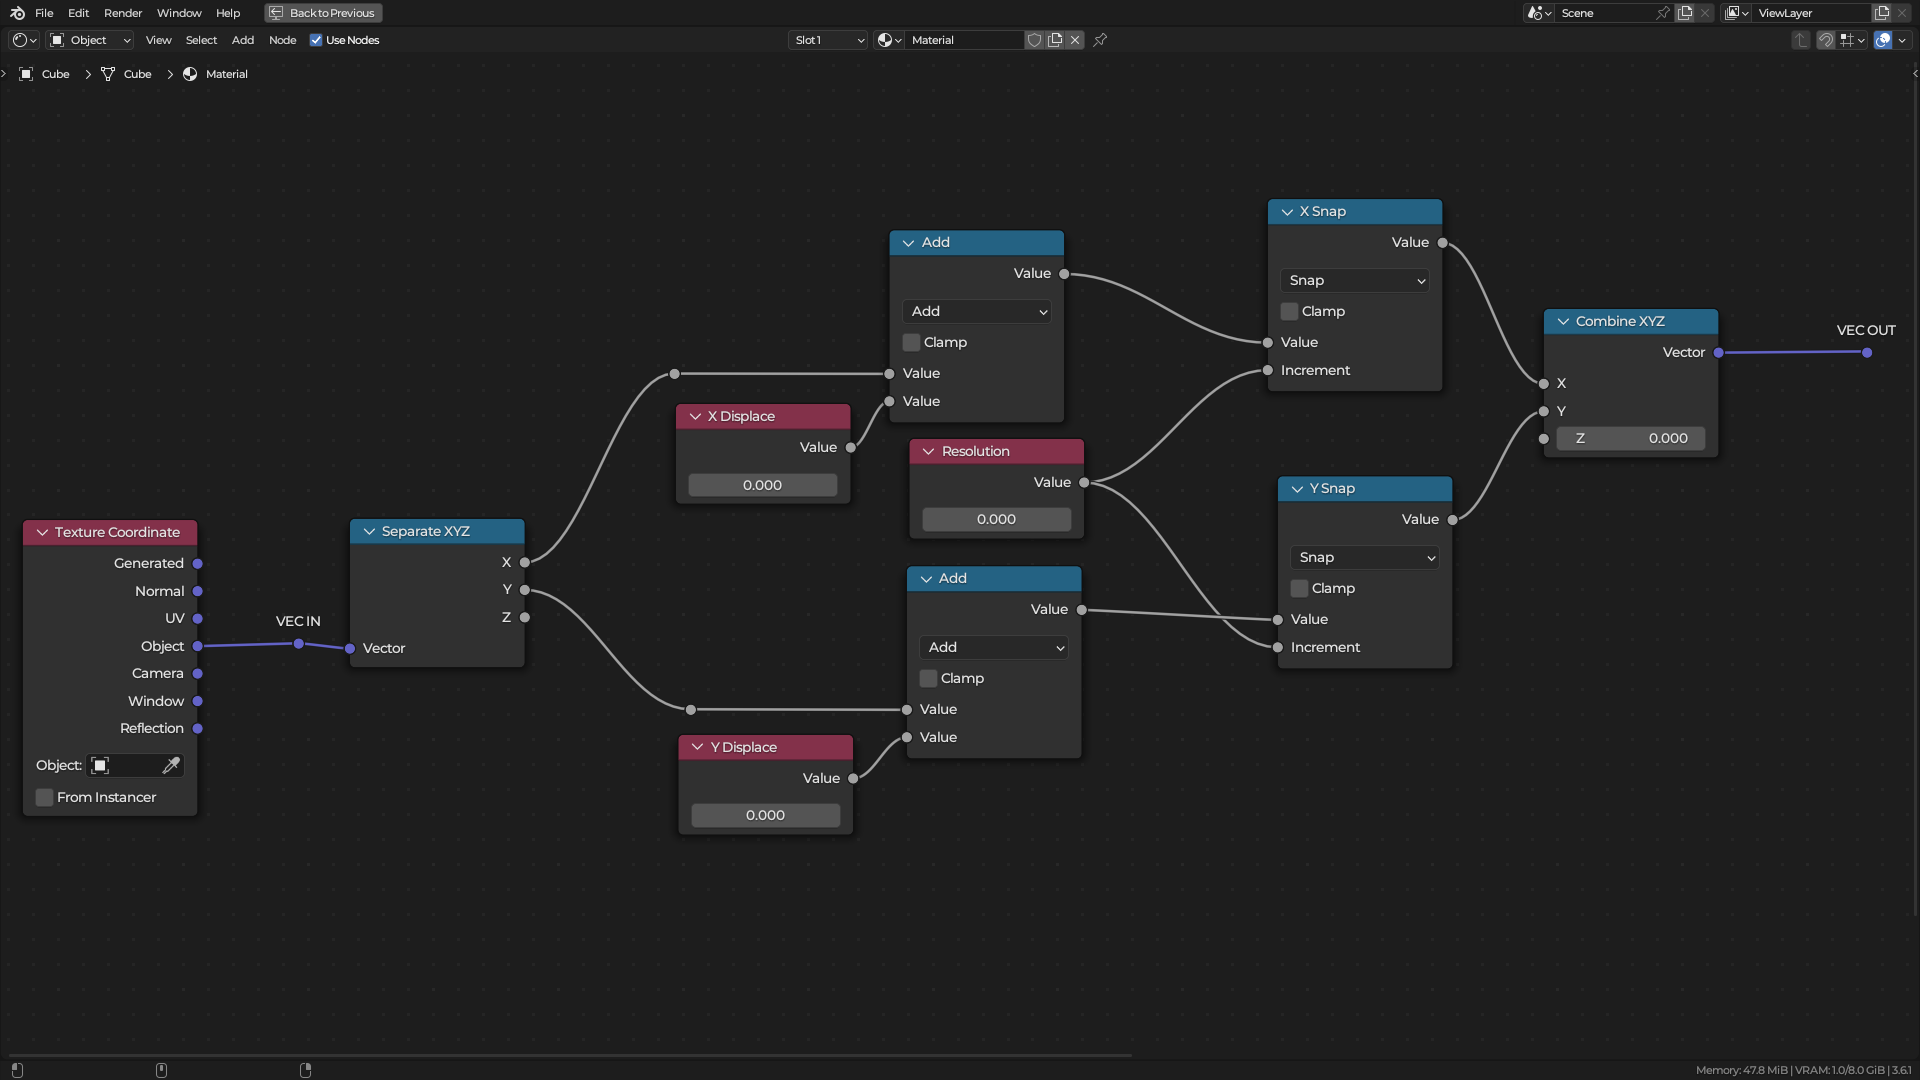
That's where the pixelate node comes in. The pixelate node takes the coordinates and runs it through a math node set to "Step"
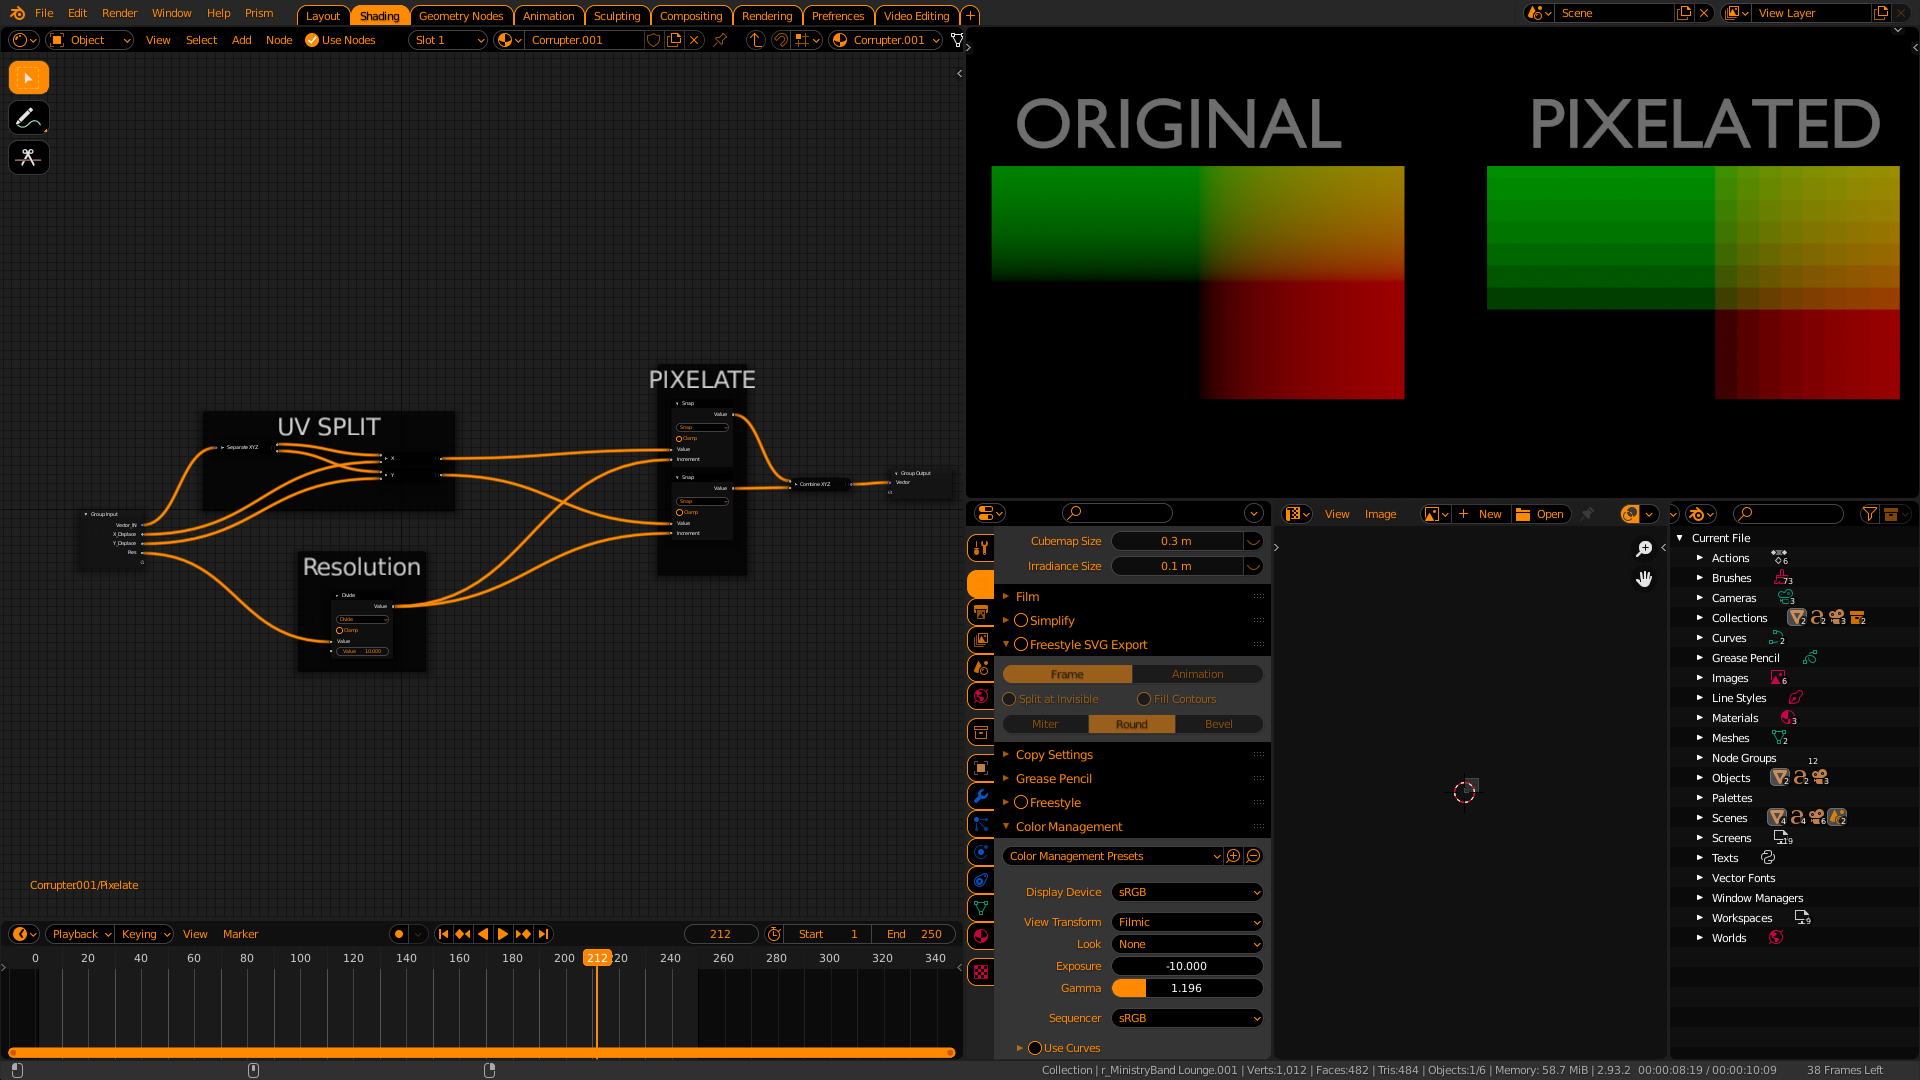
We can now pixelate anything! Lets do it to noise...
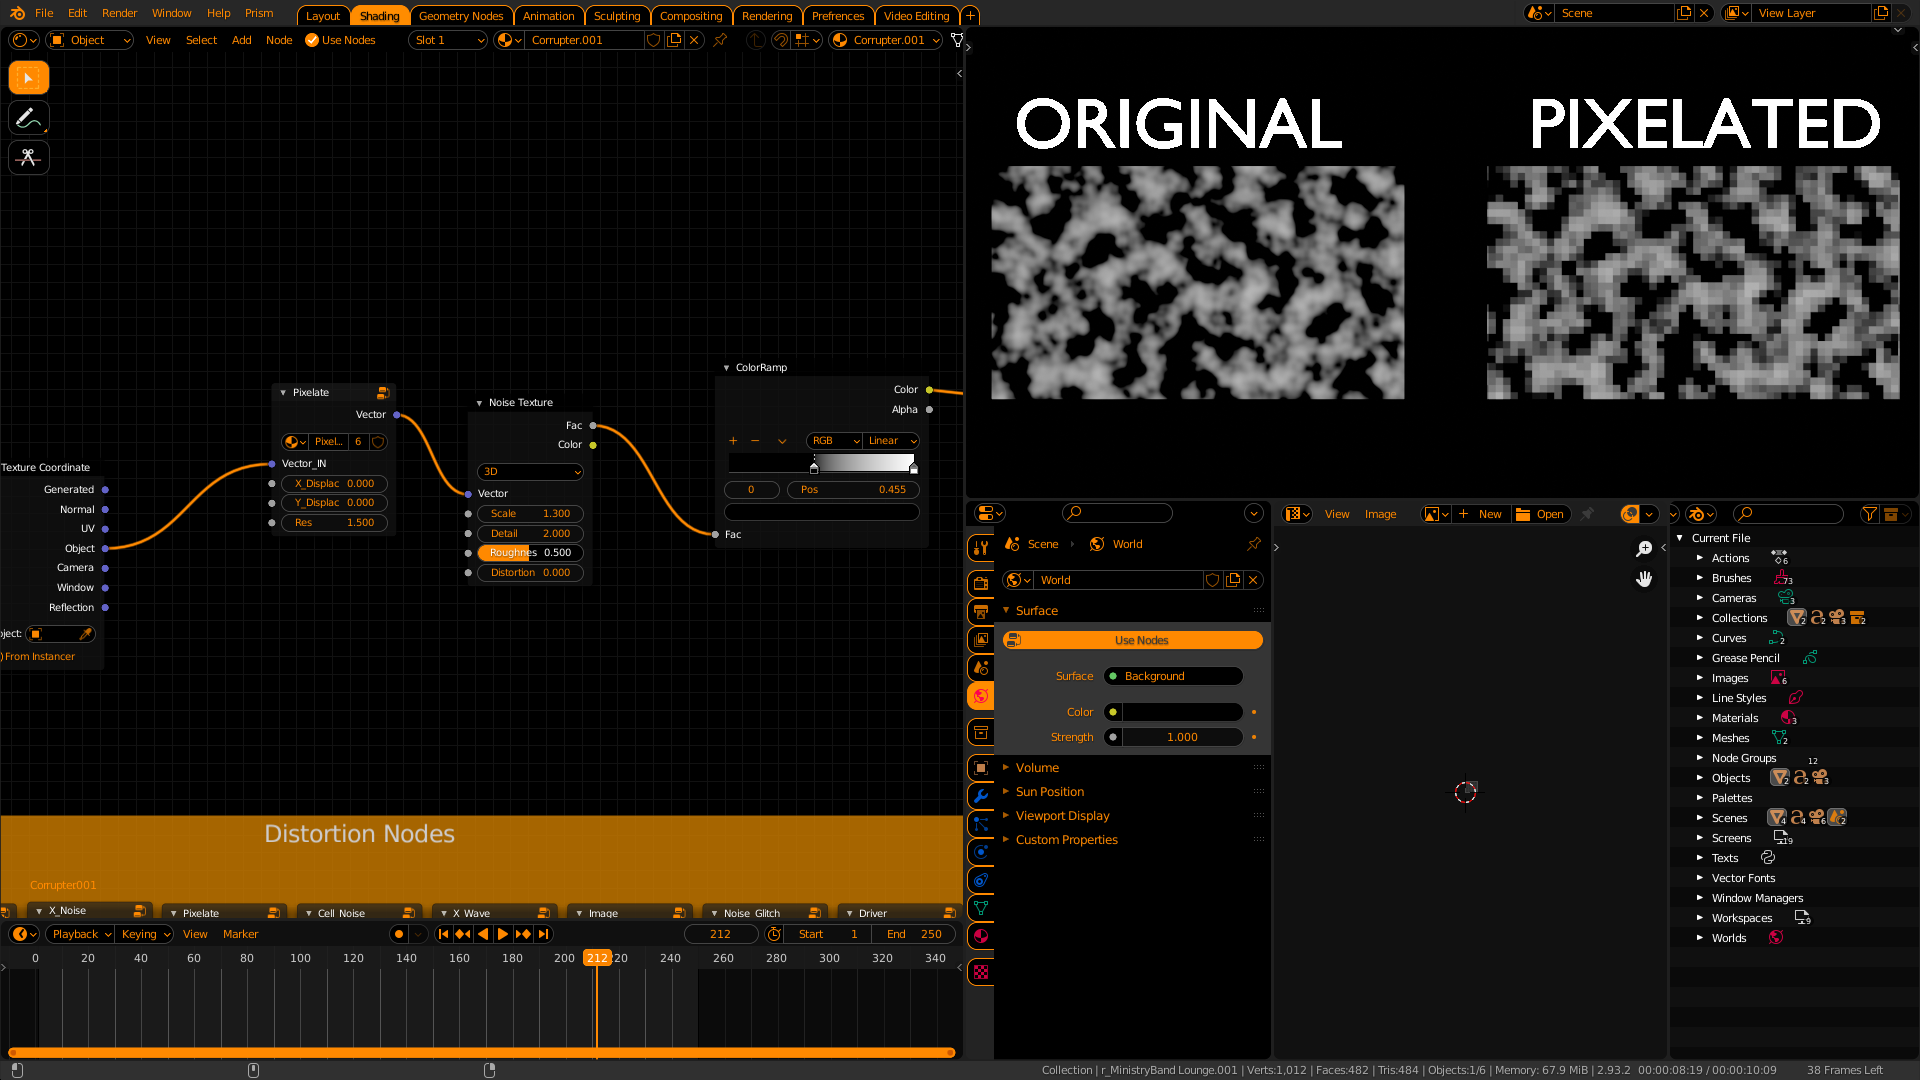
Now we take only the Y coordinates for the noise....
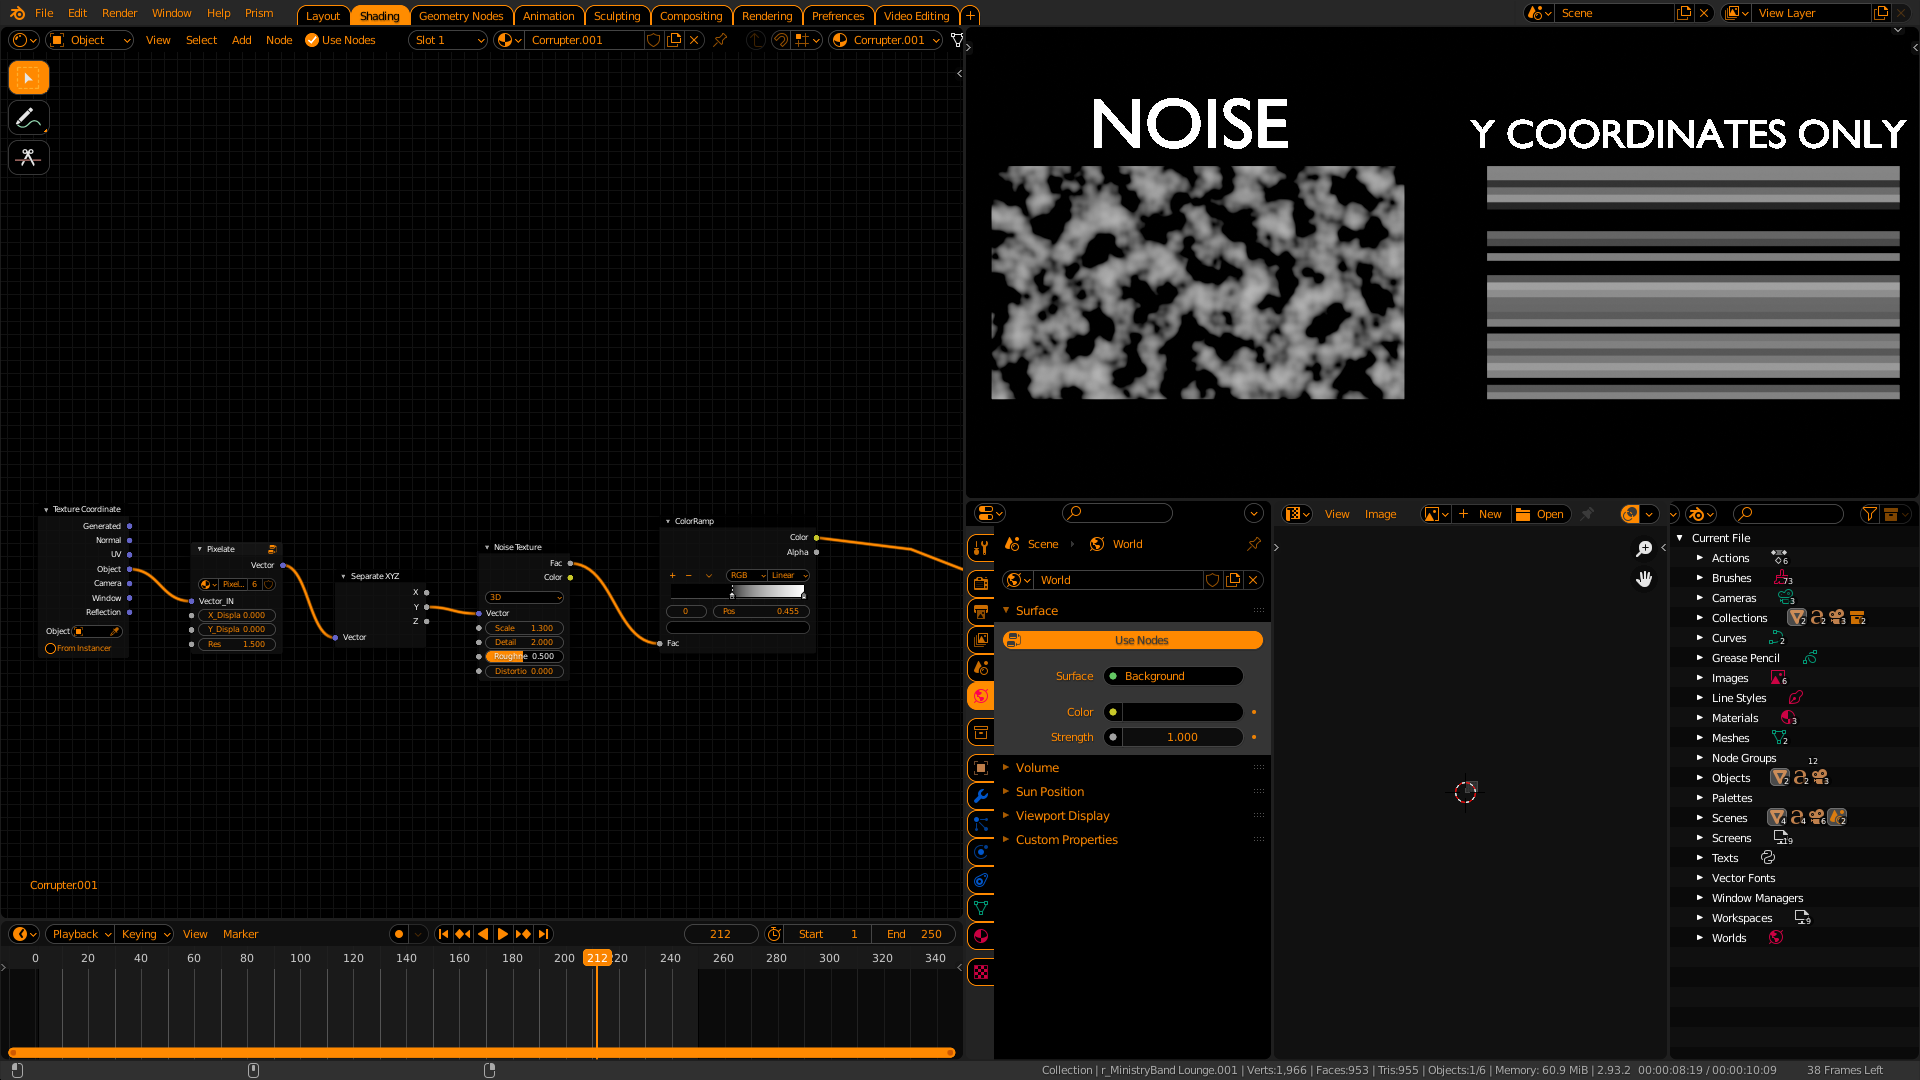
This gives us the "X Noise" Node. (Y Noise is similar, only it uses the X coordinates"
We can use a mapping node and change the value of z and get randomly moving bars in the horizontal (X) direction.
If we plug this in a displacer using a multiply as the strength controller.....
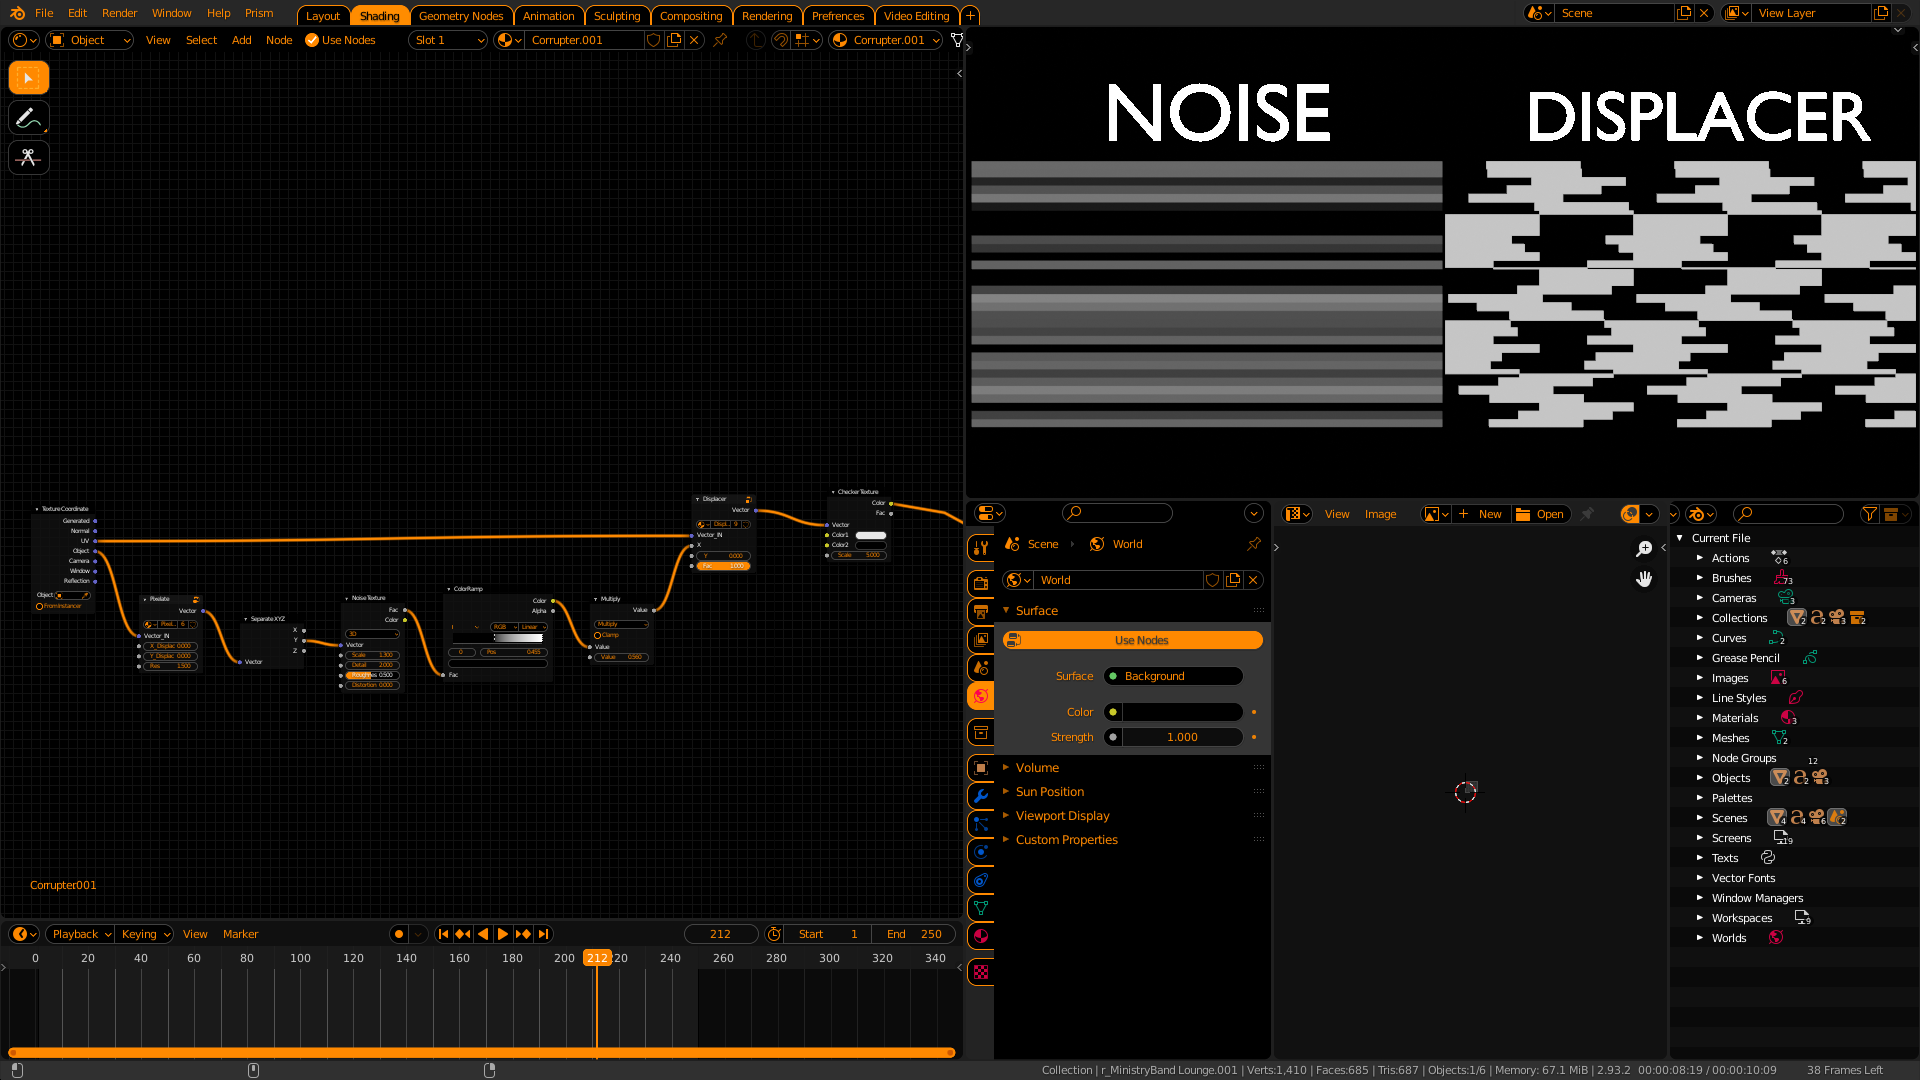
We get tiled distorions in the X direction!!
We can also use simple noise (pixelated) in the X and Y sockets to get a general glitch distort effect...
Now we can just go nuts combining noises and animating them and putting them in the displacer. I'm using a driver node that basically outputs values in the X,Y and Z (you can select which you want) and you can than plug it in a mapping node to get animating for that axis. I also added a math floor function to round the values to integers which allows for more sudden animation.
Here are 2 X noises (big and finer one) mixed and going into a displacer...
In the final setup below. I have taken multiple X_noises and Y_Noises, combined them and used one of the noises as a mask for the chromatic abberation, a feature built in the Image node.
Than I took one of the mapping nodes to add a constant movement in the Y (To simulate a VHS tape) and another mapping node to make it stutter (Using keyframes with noise and limit modifiers)
Than I used some Noise nodes (Noise nodes pixelated, some are simple noises stretched and given high roughness and detail values) and overlayed/added them on the actual image, inverted some colors and contrast to get the final look...
And that's basically it!
Thanks for reading.
2 Comments
Hello carbonx95, thanks for sharing. In "That's where the pixelate node comes in. The pixelate node takes the coordinates and runs it through a math node set to "Step"" In the picture after this paragraph, the UV SPLIT part is hard to see the steps, I am stuck here, can you explain in detail, thank you very much for your help!
Unfortunately I cant post an image here in the comments, so Ive updated the post with another image in the very end for you to see what that part is. Let me know if you need anything else.